To add, update or delete an existing client photo:
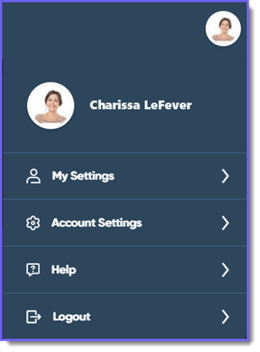
- Select your Profile icon in the upper-right corner of the page and then select Account Settings from the drop-down menu to open the Account Settings page.
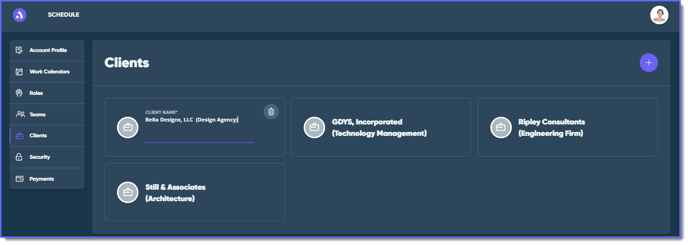
- Select Clients from the side menu.
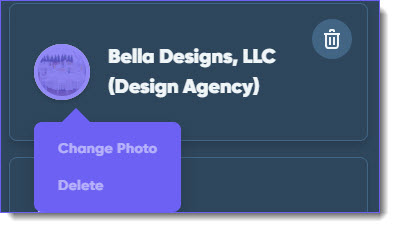
- Hover over the photo icon and then select Upload Photo (if the profile has no photo), Change Photo (if a photo already exists) or Delete your photo.

- In the browser dialog, locate and select the image you want to upload, and then select Open.
Note: If no photo exists for the project, the client photo is automatically used for the project as well.
Any changes are saved automatically.
See Also:
Adding a Photo to a Resource Profile