Additional work calendars help manage team members with different work schedules.
Creating multiple work calendars allows you to:- Designate a default calendar that is applied to all new users
- Assign different calendars to individual resources in the New Person or Edit Person dialogs
Note: Calendar settings are only available in Account Settings for Administrators and Owners.
- Select your Profile icon in the upper-right corner of the page and then select Account Settings from the drop-down menu to open the Account Settings page.

- Select Work Calendars from the side menu.
- Select the
 Add icon to add a new work calendar in the New Calendar dialog.
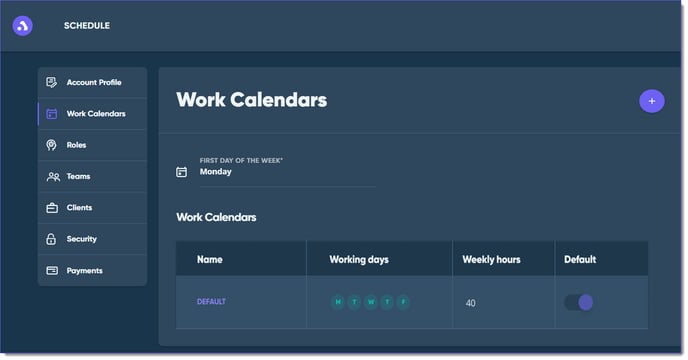
- Enter a unique name for the calendar in the Name field.


- Enter the number of default working hours for a day to mark it as a Working Day or (0) zero to set the day as a Non-Working Day. This calculates the total Weekly Hours for the Schedule.
- Once complete, select Create to save or Cancel to close the dialog without saving.
In the Work Calendars section, toggle the button in the Default column to make a new work calendar the default work calendar for the Schedule.
See Also:
Verifying and Updating a Calendar
Adding a New Project to the Schedule
Personalizing the Schedule Page Display